As one of the last parts of my full restoration of TW560 after an accident completely destroyed the vehicle and needed extensive re-building from the ground I thought it to be fitting to go all the way and spend some money on a new interior. This isn’t a decision based purely on luxury – the accident destroyed one of my seats and reduced my TWIKE to effectively a one seater.
10 years ago, I already had new seats made – the process was utterly satisfying: chose every aspect of your seat, from padding to colours and top materials. I’m a sucker for such a process, especially when you’re supported by a professional that ensures you are choosing options that actually make sense.
As the retired upholsterer I went to last time is no longer in business, I was forced to find a new place. Michi Lindinger’s place is very close to my TWIKE service centre and was interested in taking on the challenge of a full internal refurbishment of TW560.
This entry covers my first visit to Michi’s workshop and her subsequent pictures of the production process.
Michi likes to work late – this is why we meet up at her workshop at around 8 pm to start discussing materials and my ideas around padding. Other things I wanted to make sure were the way the plastic seat shell would be fixed to the aluminium frame. Usually done with cable ties, this had proven to be a bad method for the last two versions of shells I’ve had in my TWIKE. Vibration introduces cracks in the plastic which, over time, will destroy the seats and require either creative and much cheaper repair methods or a complete replacement, such as the one described here – which is around CHF 500 per seat!
This time I want to explore ways to permanently mold the seat shell to the frame in a way that avoids these cracks and will ensure that the seat lasts much longer than the ones previously.

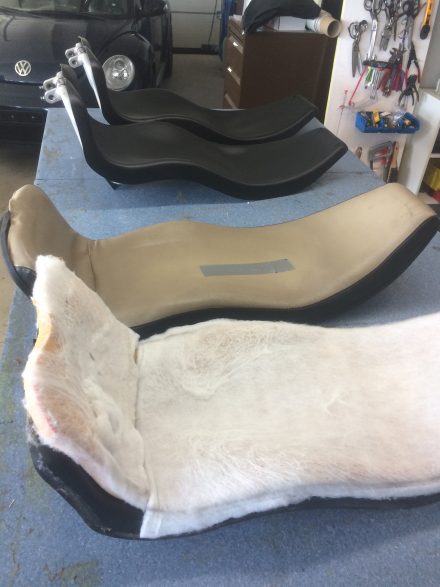
First, we want to see how my last upholster layered the materials and how he created the extremely comfortable ride I’ve been enjoying all these years.
Turns out he used a combination of foams and natural materials. Peeling back the layers reveals a completely destroyed seat shell with parts of the plastic missing. It’s high time to replace the seats!

Now comes the most interesting part of the evening and process: Choose the materials and trim! I love the choice available but am quickly pushed back to reality when asking what the leather and Alcantara options cost 🙂

With the material chosen now fixed to be a similar breathable synthetic but durable product, it’s time to decide if the colour of the seats is going to be the same as before. As I happen to really like the cream colour with deep black sides, we’re going to see if we can find the same or very similar colour in the palette of available colours.


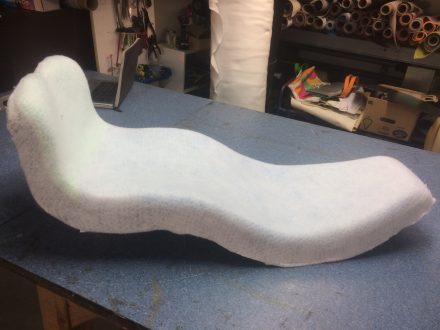
Then, we went to her massive stock of foam padding and stuffing materials and started choosing what shall be supporting my body on my next 200,000 km with my TWIKE.

Seats, nearly done. Just some final touches and decisions…

Michi will need about two weeks to create my new seats – she will also use the same durable material as roof liner in the back. When she’s done my seats we will start with the carpets – I’ll cover this in a next blog post.
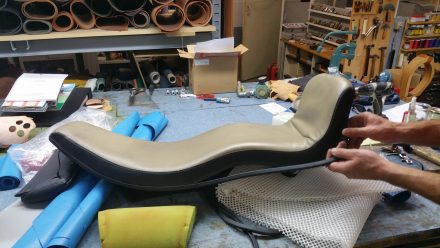
What follows are Michi’s photos she took during the process of creating my seats.


Here we see the solution we chose to implement – add super-generous amounts of flexible glue as a contact medium to have full contact to the frame all over and not only at a few spots. This should avoid or at least greatly reduce material fatigue related cracks in the shell – only time will tell. 🙂

The next pictures cover the creation of the roof liner.


Really like the final result – ready for another 5-10 years!